How to Connect an OpenAI Chatbot to Your Website


Introduction
OpenAI’s language models (like GPT-4) have made it possible to build chatbots that can answer questions, guide users, and automate support with natural, human-like conversation. But how do you actually connect an OpenAI chatbot to your website?
This guide walks you through the process, from planning and setup to embedding and improvement. The focus is on practical steps and best practices, not just promotion.
What You Need to Get Started
- An OpenAI API key (from platform.openai.com)
- A website where you can add custom code (WordPress, Wix, Shopify, Webflow, custom HTML, etc.)
- (Optional) A chatbot platform that supports OpenAI integration (for no-code setup)
Step 1: Plan Your Chatbot
Before you start coding or configuring, consider:
- Purpose: What do you want your chatbot to do? (Support, sales, onboarding, etc.)
- Audience: Who will use it? What are their common questions?
- Knowledge: What info should it have? (FAQs, product details, policies)
- Tone: Should it be formal, friendly, or playful?
Step 2: Choose Your Integration Method
You have two main options:
1. Direct API Integration (Custom Code)
- Use JavaScript (frontend) or Python/Node.js (backend) to call the OpenAI API
- Build your own chat UI and handle message flow
- Full control, but requires programming skills
2. No-Code/Low-Code Chatbot Platform
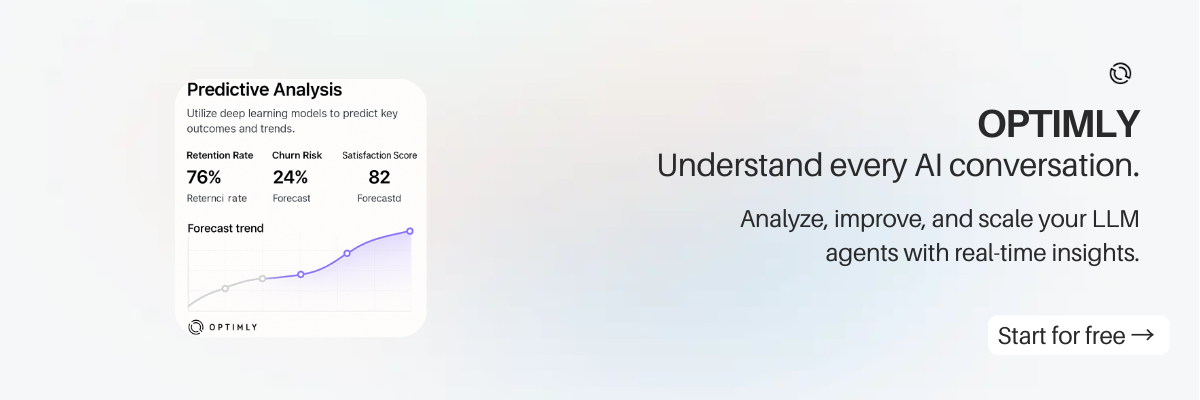
- Use a platform (like Optimly) that connects to OpenAI for you
- Drag-and-drop builder, knowledge base, analytics, and easy website embed
- No coding required
Step 3: Build and Test Your Chatbot
If Using Direct API Integration
- Set up your chat UI (HTML/CSS/JS or a framework like React)
- Capture user input and send it to your backend or directly to OpenAI’s API
- Display the AI’s response in the chat window
- Add error handling, loading states, and basic security (never expose your API key in frontend code)
Example (Node.js backend):
const { Configuration, OpenAIApi } = require('openai');
const configuration = new Configuration({ apiKey: process.env.OPENAI_API_KEY });
const openai = new OpenAIApi(configuration);

app.post('/chat', async (req, res) => {
  const userMessage = req.body.message;
  const response = await openai.createChatCompletion({
    model: 'gpt-4',
    messages: [{ role: 'user', content: userMessage }],
  });
  res.json({ reply: response.data.choices[0].message.content });
});
If Using a No-Code Platform
- Sign up and create a new chatbot agent
- Add your business knowledge (FAQs, docs, etc.)
- Connect your OpenAI API key (if required)
- Test the chatbot in the platform’s console
Step 4: Embed the Chatbot on Your Website
- Copy the embed code (JavaScript snippet or iframe) from your platform or your own code
- Paste it before the closing
</body>tag on your website - Save and publish—your chatbot is now live!
Best Practices
- Never expose your OpenAI API key in frontend code—always use a backend or a secure platform
- Be transparent: Let users know they’re chatting with AI
- Review conversations: Regularly check logs to improve accuracy
- Provide escalation: Offer a way to reach a human for complex issues
- Respect privacy: Don’t collect sensitive info unless you have proper security
Frequently Asked Questions
Can I use OpenAI chatbots on any website?
Yes, as long as you can add a code snippet or use a supported platform.
Do I need to code?
Not if you use a no-code platform. Direct API integration requires programming skills.
Is it secure?
Never expose your API key in the browser. Use a backend or a trusted platform.
Can I connect to other channels (WhatsApp, Messenger, etc.)?
Many platforms support multi-channel deployment.
Get Started Free with Optimly
Want to connect an OpenAI chatbot to your website in minutes? Sign up free and launch your first AI chatbot today!