Optimly API Documentation
Connect your applications to Optimly's AI agents with our simple REST API. Include your API key in the Authorization header of every request:
# Example with curl
curl -X POST https://api.optimly.io/external/agent/v3 \
  -H "Authorization: Bearer YOUR_AGENT_API_KEY" \
  -H "Content-Type: application/json" \
  -d '{"chat_id": "abc123", "content": "Hello!"}'
// Example with JavaScript
const response = await fetch('https://api.optimly.io/external/agent/v3', {
  method: 'POST',
  headers: {
    'Authorization': 'Bearer YOUR_AGENT_API_KEY',
    'Content-Type': 'application/json'
  },
  body: JSON.stringify({
    chat_id: 'abc123',
    content: 'Hello!'
  })
});
- Use
/external/agent/v3by default for the fastest LangChain-powered responses and optimized tool execution paths. - Keep
/external/agent/v2when you need continuity with OpenAI Agents-style payloads or have not migrated downstream tooling yet. - Fallback to
/external/agent(legacy) only when supporting historical webhooks that pre-date tool orchestration.
Security Best Practices
✅ Do: Store API keys as environment variables
✅ Do: Use HTTPS for all API calls
✅ Do: Regenerate keys if compromised
✅ Do: Implement proper error handling
❌ Don't: Expose API keys in frontend code
❌ Don't: Commit API keys to version control
❌ Don't: Share API keys between different applications
Next Steps
Ready to start building? Choose your path:
🚀 Quick Start
Try the API in 5 minutes →
Get up and running with basic message sending
📖 Full Documentation
Browse all endpoints →
Complete API reference with examples
💡 Integration Examples
See real-world code →
Ready-to-use code for common scenarios
Need Help?
Contact support
Our team is here to help with your integration
Perfect for Developers Who Want To:
- Integrate AI chat into existing applications
- Build custom user interfaces for agent interactions
- Automate lead capture from any source
- Connect appointment booking to external calendars
- Create multi-channel experiences across web, mobile, and messaging platforms
What Makes Our API Different?
🎯 Agent-Centric Design
Each API key is tied to a specific agent with its own knowledge, personality, and capabilities. No complex setup - just grab your key and start sending messages.
🚀 Simple Integration
Most integrations require just two endpoints: create a conversation and send messages. The agent handles all the AI complexity behind the scenes.
🛠️ Built-in Tools
Your agents come with ready-made tools for lead capture, appointment scheduling, and email handoff. No need to build these features yourself.
✅ What's new? These automations now live under the
/external/message/*namespace. The Conversation Automations guide shows how to post leads, booking requests, and email handoffs alongside the rest of your chat traffic.
📱 Works Everywhere
Use the same API for websites, mobile apps, chatbots, voice assistants, or any platform that can make HTTP requests.
Start Building in Minutes
1. Get Your API Key (30 seconds)
# Each agent has its own API key - find it in your dashboard
curl -H "Authorization: Bearer YOUR_API_KEY" \
     https://api.optimly.io/health
2. Send Your First Message (2 minutes)
// Start a conversation
const chat = await fetch('https://api.optimly.io/external/message/new-chat', {
  method: 'POST',
  headers: {
    'Authorization': 'Bearer YOUR_API_KEY',
    'Content-Type': 'application/json'
  },
  body: JSON.stringify({ client_id: 'user_123' })
});

const { chat_id } = await chat.json();

// Send a message with the optimized LangChain flow
const response = await fetch('https://api.optimly.io/external/agent/v3', {
  method: 'POST',
  headers: {
    'Authorization': 'Bearer YOUR_API_KEY',
    'Content-Type': 'application/json'
  },
  body: JSON.stringify({
    chat_id: chat_id,
    content: 'Hello! Can you help me with pricing?'
  })
});

const { response: agentReply } = await response.json();
console.log(agentReply); // Your agent's intelligent response
3. Deploy Your Integration (5 minutes)
Add the code to your app and start getting AI-powered customer interactions immediately.
Real-World Use Cases
💬 Customer Support Chat
Replace static contact forms with intelligent conversation:
// User asks a question
const response = await fetch('https://api.optimly.io/external/agent/v3', {
  method: 'POST',
  headers: {
    'Authorization': 'Bearer YOUR_API_KEY',
    'Content-Type': 'application/json'
  },
  body: JSON.stringify({
    chat_id: chatId,
    content: userQuestion,
    metadata: { source: 'web_widget' }
  })
});
const data = await response.json();
🎯 Lead Qualification
Automatically qualify and capture leads with /external/message/new-message:
await fetch('https://api.optimly.io/external/message/new-message', {
  method: 'POST',
  headers: {
    'Authorization': 'Bearer YOUR_API_KEY',
    'Content-Type': 'application/json'
  },
  body: JSON.stringify({
    chat_id: chatId,
    sender: 'assistant',
    content: 'Lead captured for John Doe <john@company.com> interested in 50 seats',
    metadata: {
      form_type: 'lead_capture',
      lead_collected: true
    }
  })
});
📅 Appointment Booking
Let customers schedule meetings by streaming the booking details through the message APIs:
await fetch('https://api.optimly.io/external/message/new-message', {
  method: 'POST',
  headers: {
    'Authorization': 'Bearer YOUR_API_KEY',
    'Content-Type': 'application/json'
  },
  body: JSON.stringify({
    chat_id: chatId,
    sender: 'user',
    content: 'Book a 30 minute demo on 2025-06-20 at 14:00 for Jane Smith <jane@company.com>',
    metadata: {
      form_type: 'appointment_request',
      duration_minutes: 30
    }
  })
});
API Access & Pricing
The Optimly API is available on all paid plans:
- Starter: 1,000 API calls/month
- Growth: 10,000 API calls/month
- Scale: 100,000 API calls/month
- Enterprise: Unlimited API calls
Your API Key
Each agent gets its own unique API key - this keeps your integrations secure and organized.
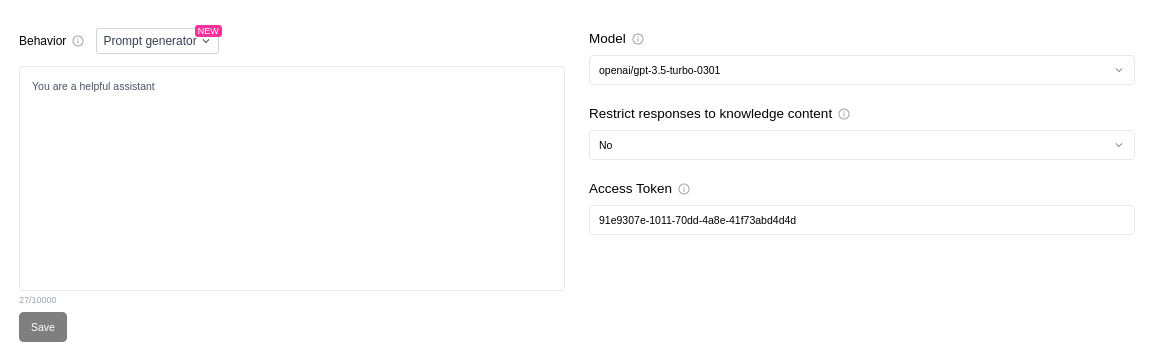
How to Find It
- Go to your Agents dashboard
- Click on the agent you want to integrate
- Open the Configuration tab
- Copy the API Key from the integration section
💡 Pro tip: You can regenerate your API key anytime if it gets compromised.
Authentication & Security
Making Authenticated Requests
Once you have the key, you can authenticate your API requests by including it in the Authorization header:
Authorization: Bearer YOUR_AGENT_API_KEY
Security Note
- Treat your API key like a password. Anyone with this key can send messages on behalf of your agent.
- Never share it publicly or embed it in frontend code.
- You can regenerate the key if it’s ever compromised.